Seeds
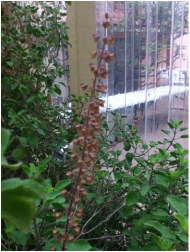
The first step to taking care of Tulasi devi is obviously obtaining seeds. Tulasi seeds will be dark brown to black, about half the size of a mustard seed. When Tulasi devi produces manjaris, if they are not picked she self-pollinates and seeds form under where her flowers are, in small "pods". There are four seeds that form in each "pod". The manjaris must be allowed to stay on the plant at this point until they completely dry up and are a light brown color. If they are picked before this, the seeds will not be fully mature and will not successfully sprout upon being planted. The seeds can be stored out of the sunlight for years and still sprout upon being planted. This is one of the many wonders of Krishna's creation!
The supplies required for planting the seeds are:
Peat Moss Cups- these can be obtained at any hardware or gardening store and are very cheap. They are nice because once a plant outgrows the peat moss cup, it can be placed into a new pot or in soil outside without being taken out of the peat moss. The roots will simply grow through the peat moss.
Potting Soil- it is important that the soil used is potting soil, not gardening soil. Gardening soil works in the ground, but not in pots. The potting soil should be nutritious, light, and retain water well. Be very careful about the ingredients in the soil. Many companies use animal products in their soil, such as bat or chicken stool and leftovers from the slaughter house or even sewage waste. Obviously, Tulasi devi would not be very happy in any of these things.
Filtered Water- water straight from the faucet is filled with chemicals including chlorine, lead, and fluoride. These are certainly no good for Tulasi devi (or humans for that matter). So, a filter for the hose or sink is needed. As far as sink water filters are concerned, I haven't personally used any because I use the hose. The filter I use for the hose is made by "Rainshow'r", and is called the "Gard'n Gro Garden Dechlorinator". Initial cost is a bit high, but the filters last, according to customer service, for two years, and replacement filters can be bought which are only 1/3 to 1/4 of the price.
Spray Bottle- this will be used for watering the new Tulasi, and should be completely clean. Any chemicals which remain in the bottle or nozzle will go into the soil.
Sandwich-sized ziplock bags- these will be used to give the seeds a humid environment. Tulasi devi loves humidity.
***Update***
As you might be able to tell from the large size of this text, I am very excited to tell all of you what I have discovered to be the greatest most effective way to grow Tulasi devi from seeds. Well, not that I can take credit for it, I'm sure others have done it before too, but I have recently discovered this for myself and must recommend it far more than the method described below in my video.
As you might be able to tell from the large size of this text, I am very excited to tell all of you what I have discovered to be the greatest most effective way to grow Tulasi devi from seeds. Well, not that I can take credit for it, I'm sure others have done it before too, but I have recently discovered this for myself and must recommend it far more than the method described below in my video.
What I have discovered to work amazingly well is peat moss seed starter kits.
Here is an example of one:
http://www.amazon.com/Jiffy-5710-12-Pellet-Indoor-Greenhouse/dp/B000BX4QW4/ref=pd_sim_lg_1
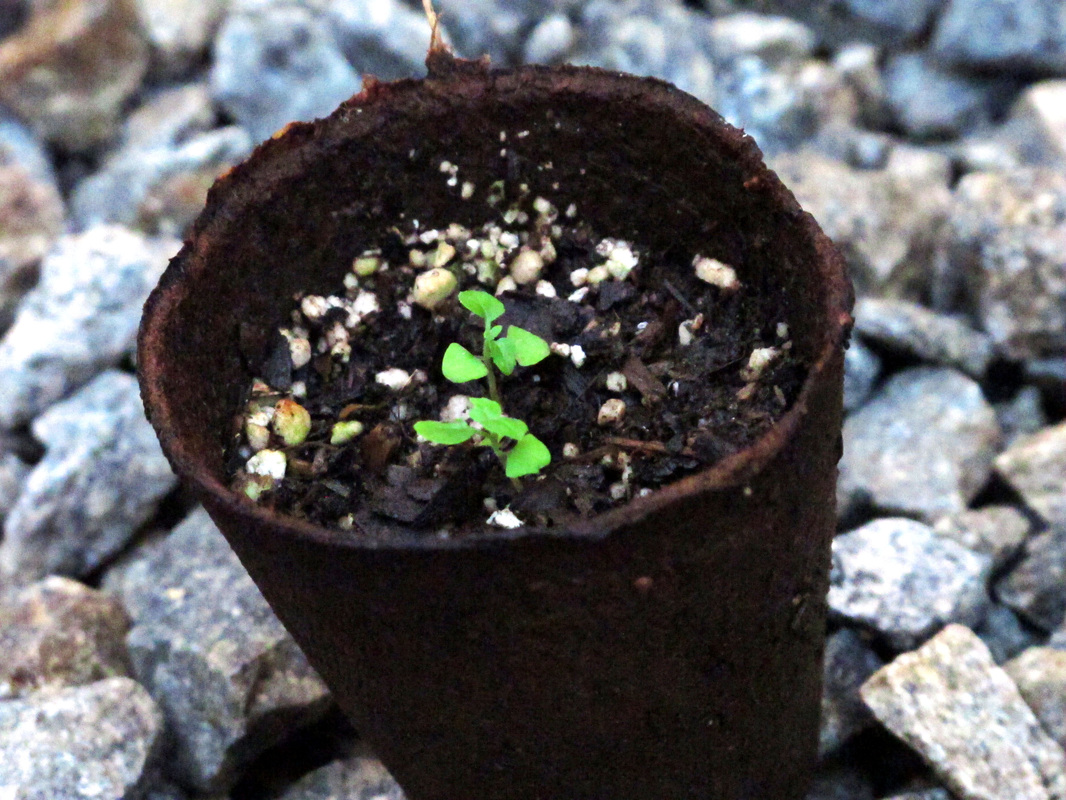
These come with small peat moss pellets which you soak in water to expand them into their proper size, a plastic container to put them in, and a plastic cover that goes over the top to maintain a humid environment (just like the ziplock bags I mentioned above). All you do is soak the pellets, put a very small hole in the top of each one, put one seed inside, and just barely cover the seed with peat moss. Then put the cover on top and put it in a place that's sunny but where Tulasi devi is not getting any direct sunlight (I put them under the branches of one of the big Tulasi plants inside the greenhouse here) and that is nice and warm. Then, just pour water into the bottom of the container whenever the pellets start to get dry (they will go from dark brown to a lighter brown), and once the seeds start to sprout take the top off and they will grow like anything. The things that make this much more effective than my method described below is that the peat moss retains water much better than the soil which is essential for a sprout of any plant, the peat moss has good nutrients in it, and the peat moss is in more direct contact with the seeds. All of these make for a happy Tulasi sprout. And, everything you need is there and easy to use.
Below are photos of how much Tulasi devi likes these peat moss pellets. I've never had such healthy Tulasi sprouts.
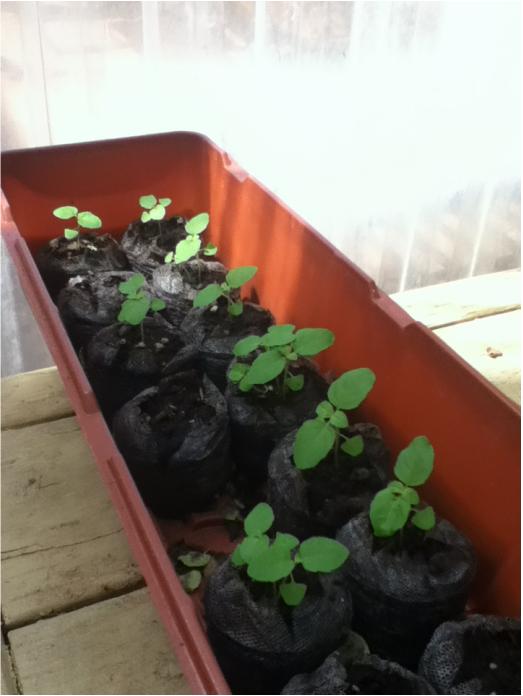
These are about three weeks old.
Planting Instructions:
1. Soak the peat moss cup in water until it is moist.
2. Add moist potting soil, almost to the top. Pack it down lightly.
3. Take the seeds out of the seed pods. Place them on top of the soil, not inside. They should not all be clumped together, because once they get bigger they will need to be separated from each other (about half of the seeds usually germinate successfully).
4. Sprinkle a fine layer of soil on top of the seeds, no thicker than the diameter of the seed. I do this using dry soil in a sieve.
5. Use the spray bottle to water the soil, on a light mist setting. Be careful that the water is not spraying hard, otherwise it will disturb the seeds. This is why a hose mist setting is not recommended.
6. Place her in the shade and put an open ziplock bag over her. This will make it nice and humid for the seeds to germinate.
At this point one must very vigilantly keep track of her. If the seeds start to germinate and the soil dries out even a little bit, she will die. So once seeds are planted, she should ideally be checked on every few hours. Once she begins to germinate, the ziplock bag should be taken off.
Maintenance
After Tulasi devi germinates, keep her in the shade for about a month. Then she can be put in the sunlight for a few hours a day, and gradually this can be increased to being in the sunlight all day. The way that one can tell if Tulasi devi is getting too much sunlight is by the color of her leaves. If they turn purple, that means that she still needs some shade during the day. Of course, Shyam Tulasi is naturally purple, so you have to know what kind of Tulasi you have. Continue to regularly water her, making sure the soil doesn't get dry but is not soggy.